Restoring a car from start to finish can feel overwhelming, especially if it’s your first time. You’ll face many decisions and challenges along the way, but with the right approach, it can be a rewarding experience.
This article will give you 12 practical tips to guide you through your full car restoration, helping you avoid common pitfalls and stay organized. Whether you’re working on a classic or a project car, these tips aim to make the process smoother and more enjoyable for you.
Start with a running project car to avoid expensive towing
Starting with a car that runs and drives can save you money and hassle. You won’t have to worry about towing fees or complicated transport.
Getting the car on the road lets you test how it drives and if you enjoy working on it. This helps you avoid surprises after investing time and money.
You can focus on restoring parts without needing to fix major mechanical problems first. It also makes moving the car around easier as you work on it.
Remove the battery and drain all fluids first
Start by removing your car’s battery to avoid any electrical shorts while working. This also makes the restoration process safer for you.
Next, drain all fluids including oil, coolant, brake fluid, and transmission fluid. Old fluids can cause damage if left inside during repairs.
Make sure to dispose of or recycle these fluids properly. Taking this step early helps you work on a clean, safe vehicle.
Strip the interior and dashboard early in the process
Start by carefully removing the seats, panels, and dashboard pieces. Label everything as you go to keep track of parts and screws.
Take plenty of photos to help you remember how components fit together. This step makes reassembly much easier later.
If your dashboard has wood trim, use gentle heat to soften the finish before removal. This prevents damage and speeds up stripping.
Getting the interior out early gives you clear access to inspect and repair hidden areas.
Focus on mechanical repairs before bodywork
Start by checking the engine and drivetrain. If the engine doesn’t run or isn’t turning over, fix those issues first.
Mechanical parts affect how your car drives and safety, so addressing these early saves frustration later.
Once the engine, brakes, and suspension are solid, you can shift your attention to the body. This way, you won’t waste time fixing cosmetic issues before the car actually works.
Taking care of mechanical repairs first sets a strong foundation for the rest of your restoration project.
Plan your restoration with a clear timeline
Start by setting realistic goals for each phase of your restoration. This helps you stay organized and track progress.
Break down the work into manageable tasks, like removing rust or repainting. Assign rough deadlines to keep momentum.
Remember, unexpected issues can slow things down. Build extra time into your timeline so you don’t get frustrated.
Having a clear plan makes the process smoother and helps you enjoy each step along the way.
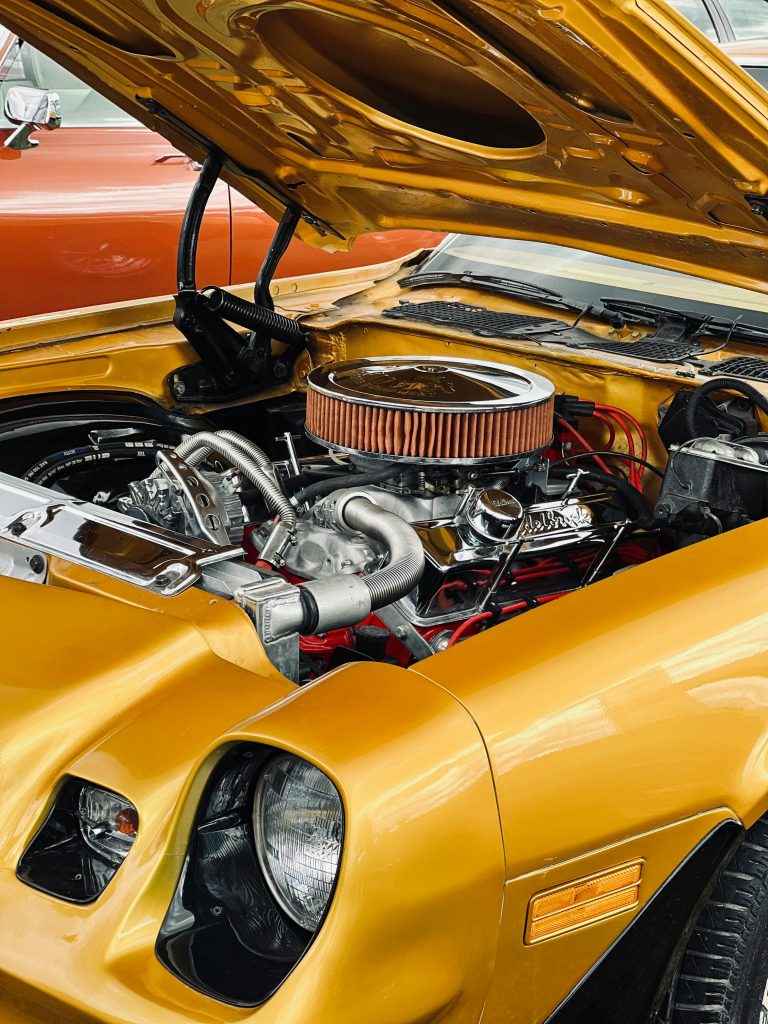
Learn basics of engine operation and components
Start by understanding how the engine turns fuel into power. Learn about key parts like the cylinders, pistons, crankshaft, and valves.
Knowing how these parts work together helps you spot issues and make repairs.
Watch videos or read simple guides to see how combustion engines function. This will make your restoration easier and more confident.
You don’t need to be an expert right away. Just focus on the basics to build a solid foundation.
Fix the engine and drivetrain before painting
You should repair the engine and drivetrain before starting any painting work. This prevents damage to your fresh paint from fluids and dirt during mechanical work.
Cleaning and fixing these parts first also helps you spot any leaks or issues that could affect the paint or body later. Once everything runs smoothly, you can focus on painting without worries.
Use a comprehensive tool kit and maintain your tools
You’ll want a complete set of quality tools before you start your restoration. Having the right wrenches, screwdrivers, and sockets makes your work smoother and faster.
Take good care of your tools by cleaning and storing them properly after each use. Well-maintained tools last longer and work better, saving you money and frustration.
Get the bodywork done in phases to manage workload
Tackling the bodywork in smaller steps helps you stay organized. You can focus on fixing rust or dents in one area before moving on to the next.
Breaking the work into phases also makes the project less overwhelming. You’ll see steady progress, which keeps motivation up.
Plus, handling one section at a time lets you assess results and adjust your plan. It’s a practical way to manage both time and effort.
Paint after the major body repairs are complete
Once your bodywork is finished, it’s time to focus on paint. Make sure the surface is clean and smooth before starting.
Remove old paint, rust, and imperfections using sanding or media blasting. Your goal is a flawless base for the new coats.
Apply primer evenly to help paint adhere and highlight any final bodywork. Then you’re ready to begin painting with your chosen colors.
Install upholstery and trim after painting
You should always install your upholstery and trim after the painting is fully done. This helps you avoid paint overspray or damage to your new interior parts.
Waiting until after paint lets you focus on protecting the fresh finish. Plus, it makes fitting the interior easier without worrying about paint mess.
Take your time aligning trim and upholstery pieces carefully. Finishing this step last keeps everything looking clean and polished.
Fit new tires only as one of the last steps
You want to save fitting new tires until near the end of your restoration. This helps avoid damaging or wearing them during earlier work.
Using old or temporary tires lets you move the car around without worry. New tires are best installed after all mechanical and body repairs are complete.
This way, your new tires stay fresh and ready for driving once the restoration is fully done. It’s a simple step that protects your investment.
Leave a Reply